Monday, April 30, 2012

Whimsy


This tutorial was created by Rapsody on April 30th, 2012.
Any similarity to any other tutorial is purely a coincidence.
I have not used plugins or drops shadows but recommend you use them where you see fit.
You may share this tut but please share the only the link, thank you
I am using PSP 12 but any version should work!

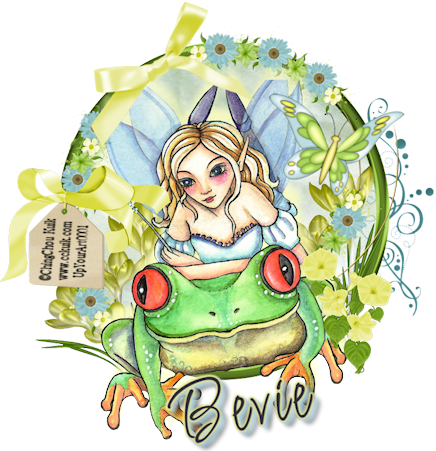
We are using the lovely art of  Ching Chou Kuik  CK0001, you must have a license to use this tube. Ching Chou’s tubes must be purchased at UpYourArt
This wonderful kit “Whimsical” by Horse Play Pastures can be found HERE Thank you so much Bevieeeeeeee!
Font Licorice which is a pay font by Rob but any font will work.

We will be using:
Tube CK0001
hpd_Whimsical_39
 hpd_Whimsical_ Paper 17
hpd_Whimsical_37
hpd_Whimsical_5
hpd_Whimsical_29
hpd_Whimsical_57
hpd_Whimsical_20
hpd_Whimsical_33
**After you use each element close it so you have a clean workspace.

Okay, let’s get started!

*Open a canvas 800 x800 flood fill white. I like to have this layer so I can see my creation better as I work on it.  We will delete this later as well as resize.
*Copy and paste hpd_Whimsical_39 as a new layer.
*With your selection tool, touch the center of the frame, modify, expand 3, return to your white layer (bottom) and create new layer then paste hpd_Whimsical_Paper17 into selection, select none.
*Hide your white layer, then merge visible.
*Unhide the white layer, copy and paste hpd_Whimsical _37 as a new layer and position so it overlaps evenly on your top layer.
*Stay on the top layer, copy and paste hpd_Whimsical_5 as a new layer. Resize to 60%  and rotate left 30, position on the upper left between the blue flowers, see my tag for reference. Or you may add this at the end on the top layer as I did on my tag.
*Paste your tube as a new layer, add a soft drop shadow of choice on new layer so you can adjust to your preference. This is what I used:
Photobucket
*Copy and paste hpd_Whimsical 29 as a new layer, resize 60% and move to the right of your tube.
*Copy and paste hpd_Whimsical 70 as a new layer resize 50% and move to the left, see my tag for reference.
*Paste hpd_Whimsical 57 as a new layer, resize 30% position to the right of the frog, duplicate and mirror and position near the original.
*Go to your bottom layer, and add hpd_Whimsical 20 as a new layer move to the right of the tag.
*Now go to the next layer, (merged frame and paper) and add hpd_Whimsical 33 as a new layer, resize 50%. Move to the left of the tube, see my tag for reference.  Duplicate layer, mirror and position on the right side.
*Feel free to add any other embellishments from this lovely kit.
*Add your copyrights, url, and license number.
*Merge visable, select all, float, crop to selection, resize 60%.
*Add your name and you are done!

*Save as a PNG, you are done, YAY
Thank you for visiting and doing this tutorial, I hope you found it enjoyable. I would love to see your results and I welcome any suggestions at CustomerService@UpYourArt.com
Raps